

This blog post takes you on a guided tour of the Service Level Agreements (SLA) and Queues in Dynamics CRM.
Service Level Agreements (SLAs)
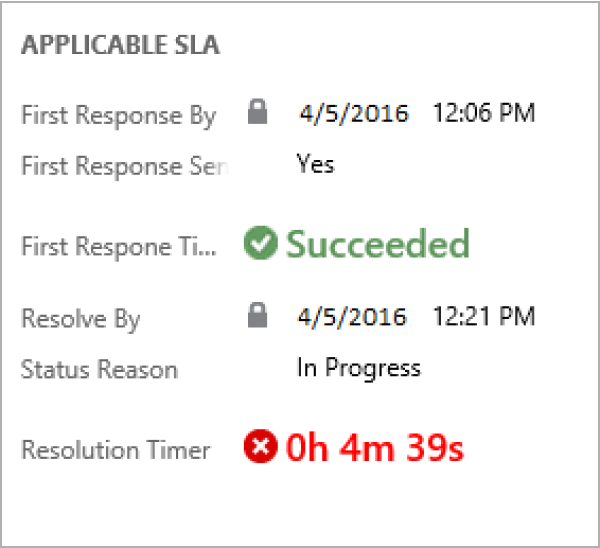
Service Level Agreements offer an easy and convenient way to track the time taken by service representatives to solve support requests. Service Level Agreements are also the first step towards crafting Key Performance Indicators (KPIs) and tracking the performance against those KPIs. It is possible to see them as timers on record forms, where they indicate remaining time until (or time passed since) or the prescribed time it takes to solve a support request.
We can manually apply a Service Level Agreement (SLA) to a Case by updating the Case record and specifying an active SLA record in the SLA Id attribute of the incident record.
The steps to create an SLA in CRM are:
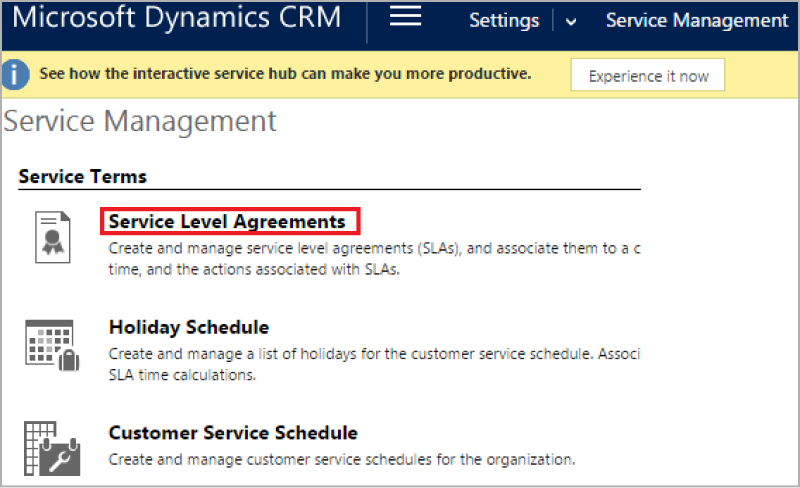
1. Go to Settings-> Service Management -> Service Level Agreements
2. Click New to create a new SLA.
3. Fill the details like name of SLA, SLA Type, Business hours and specify whether it allows pause and resume as shown below.
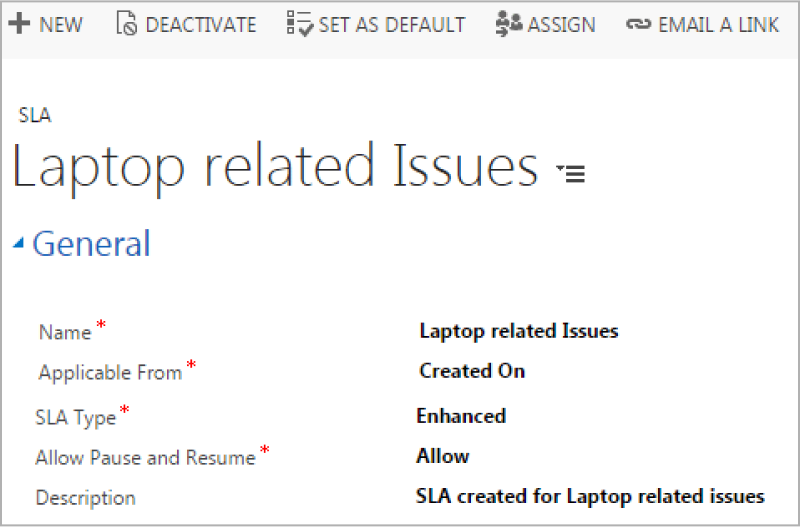
4. After saving the details, click Save. SLA will be created.
Service Level Agreements allow us to define rules for SLA on how it works on Case. It is possible to set up actions to be performed if SLA falls to warning or failure state.
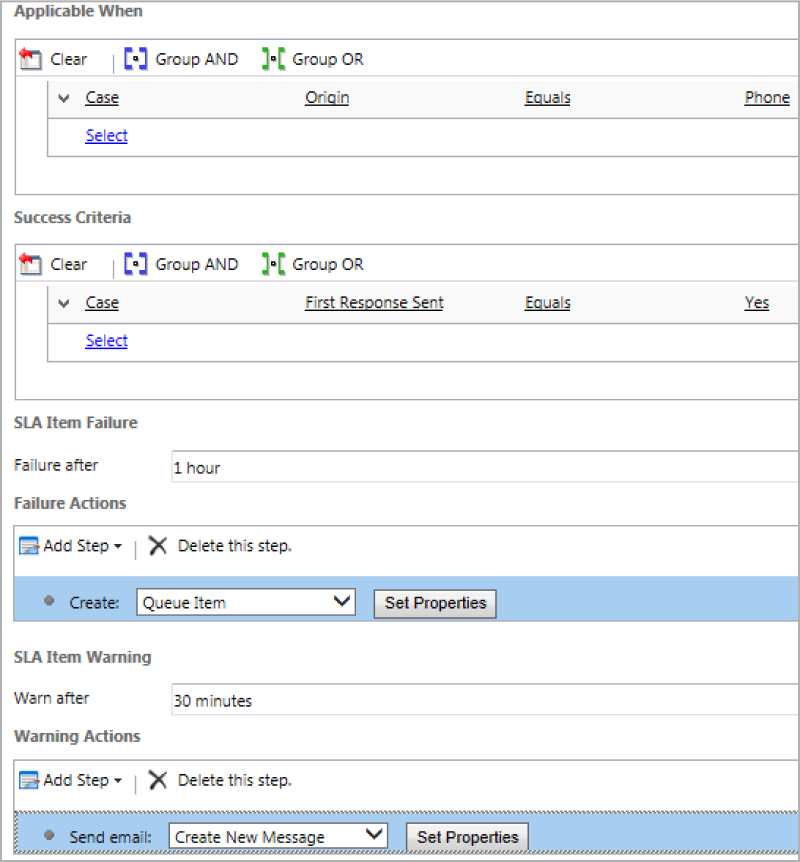
Service Level Agreements allow CRM users to pause the timer depending on the status reason of the support request. For example, if a service representative is waiting on certain information from the customer, the status reason “Waiting on Customer” will pause the timer until the status reason changes. The time on hold is also tracked and can be reported on.
Queues
It is possible to add a Case to a queue in Dynamics CRM.
By default, a queue is created for each user and team in Microsoft Dynamics CRM. Queues share cases or activities as a group until these are taken out of the queue, or accepted, by a customer service representative (CSR) who assumes responsibility for handling them.
The steps to add a Case to the queue are:
- Open the Case record.
- On top of the screen click on ‘Add to queue’ option as shown below.
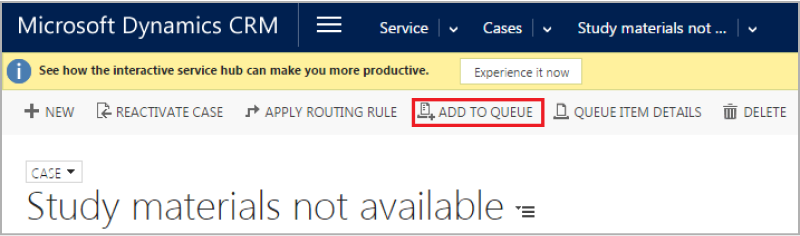
3. A window will pop up and we have to select the queue to which we want to add the Case and click Add. The Case will be added to the queue.
You can use queues to organize, prioritize, and monitor the progress of your work. In Microsoft Dynamics CRM, queues act as containers that are used to store anything that needs to be completed or requires an action, for example completing a task or closing a case.
Did you find these steps useful? Leave your comments here. Milestone offers you advanced solutions in Microsoft Dynamics CRM case management. To know more about our expertise, feel free to contact us at itsolutions@milestone.tech.