

M S Dynamics allows you to send emails from CRM. You also have the option to create and manage email templates in MS Dynamics CRM, besides an enhanced HTML editor.
Read more:
- Email HTML Editor Control in Microsoft Dynamics CRM
- Create and Manage Email Templates in MS Dynamics CRM
The following steps describe how to configure the CRM to send emails from it.
1. Create a server profile.
To configure email in CRM, you must set up an email server profile.
To do this:
a. Navigate to Settings->Email configuration->Email Server Profiles
b. Click the New option.
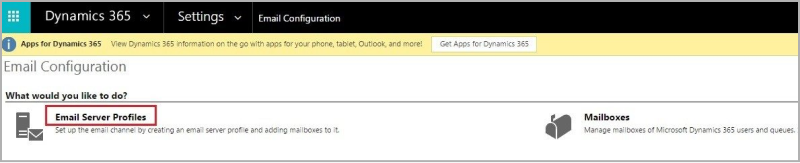
c. A screen will be opened where you have to enter details of the email server that you want to configure within the CRM. Once this is done click on Save.
2. Now navigate to Settings->Email Configuration->Mailboxes
3. Now a screen will be displayed with Active Mailboxes. If your mailbox does not appear in the list, you must change the option to Inactive Mailboxes, select your mailbox, and then click on the Activate option. Now your mailbox will be seen in the Active Mailboxes list.
 4. Click on your active mailbox. Now, a screen will be displayed which will automatically populate some of the details like name, email address, owner, etc. You’ll have to set some of the additional information.
They are:
Server Profile: Select the server profile that you have created just now.
Incoming Email: Set this option to Microsoft Dynamics 365 for Outlook.
Outgoing Email: Set this option to Server Side Synchronization or Email Router.
Appointments, Contacts, and Tasks: Set this option to Microsoft Dynamics 365 for Outlook.
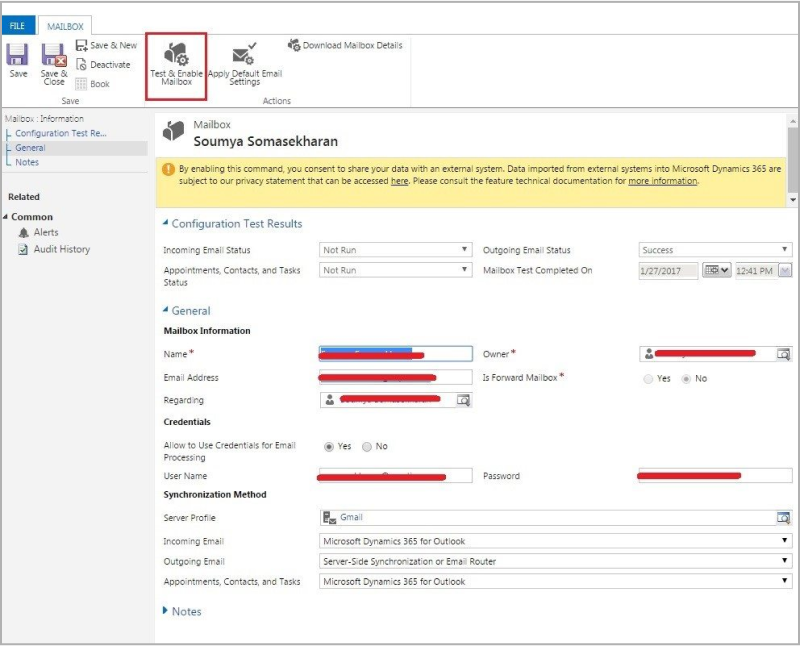 5. In the Credentials section change the Allow to Use Credentials for Email Processing from No to Yes. Now the fields to enter User name and Password will be displayed. The username will be the same as what you set in the CRM email field. The password will be the app password you create from the mail account.
To create a mail app password
1. Open your mail in the web browser.
2. Navigate to My Account->Sign in and Security-> App password
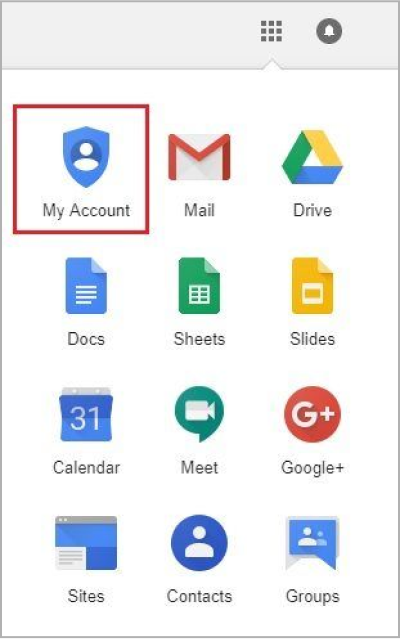
3. Choose Mail for Windows Computer from the dropdown menu and click on Generate. Now an app password will be created. Copy that password and paste it in the CRM Password field.

4. Once you have entered the necessary details in the form, click on Save.
5. Now click on Test and Enable Mailbox.
6. Now when you check your mailbox screen, you can see the configuration success message there. Now your CRM account is configured to send emails.
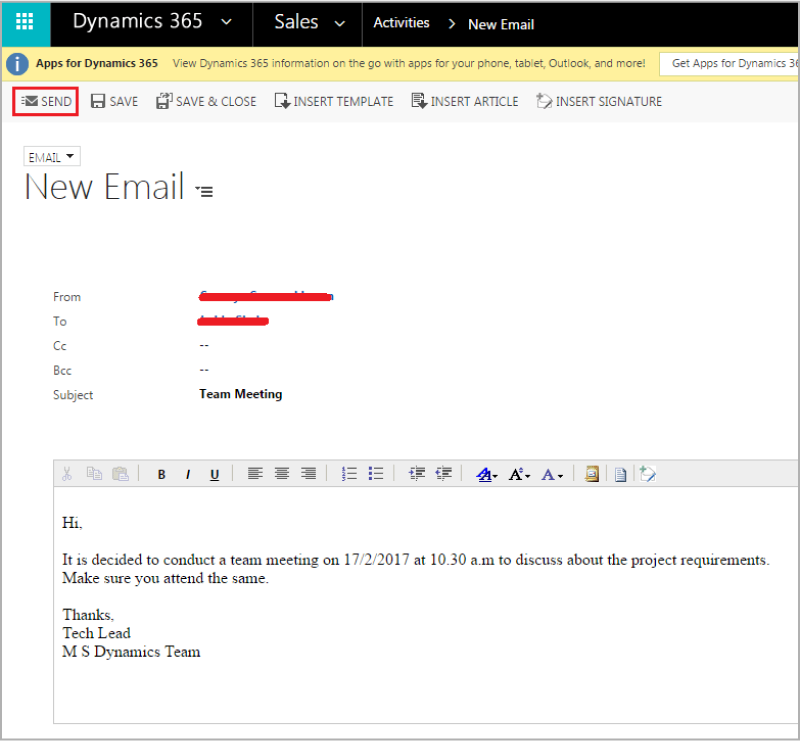
7. Now Navigate to Sales-> Activities->Email
8. An email screen will be displayed and you should enter the details like To, Subject, and the required content in the mail body. Now click on Send and your mail will be sent from CRM.
Hope you have learned how to configure emails using MS Dynamics CRM. Please try it out and get back to us if you have any queries.
We are listening.
Have something to say about this article? Contact us to know more or share your opinions with us on Facebook, Twitter, or LinkedIn.
Related Posts: